Step-by-Step Guide: What to Expect During an HVAC Installation
Installing a new HVAC system is a significant investment for any home or business, and it’s a process that goes far beyond simply setting up a furnace or air conditioner. For many property owners, the idea of HVAC installation can be intimidating due to the technical intricacies involved, from sizing the system correctly to ensuring optimal energy efficiency. Understanding the step-by-step process not only demystifies the installation but also empowers homeowners to make informed decisions, protect their investment, and ensure long-term comfort. A well-planned HVAC installation can improve indoor air quality, lower energy costs, and enhance the overall efficiency of your heating and cooling systems. Furthermore, modern HVAC systems integrate advanced features such as programmable thermostats, zoning capabilities, and energy recovery options, which can add complexity to installation but provide significant long-term benefits. Proper planning ensures that these technologies function as intended, maximizing both convenience and savings.
Beyond functionality, an HVAC system is central to the health and safety of a property. Improper installation can lead to frequent repairs, higher utility bills, and inconsistent indoor temperatures. This guide provides a clear, detailed roadmap of what to expect during a professional HVAC installation. By walking through each stage, from initial assessment to final testing, property owners can gain confidence, anticipate potential challenges, and better understand the reasoning behind expert recommendations. Additionally, understanding the process helps homeowners communicate effectively with contractors, ask informed questions, and verify that each step meets industry standards. With this knowledge, the installation process becomes a structured, manageable experience rather than an overwhelming task, reducing stress and ensuring a smoother transition to a fully functional, energy-efficient HVAC system.
Step 1: Initial Assessment and System Selection
Evaluating Your Property Needs
Before any installation begins, a professional HVAC technician conducts a comprehensive assessment of your property. This includes evaluating square footage, insulation levels, window placement, and the number of occupants. Each factor impacts the required capacity of your heating or cooling system. A system that is too small will struggle to maintain comfortable temperatures, while an oversized system can cycle on and off too frequently, causing inefficiency and wear.
Technicians also consider your property’s layout, ductwork condition, and existing infrastructure. Older homes may require duct modifications or the installation of new lines, while newer homes might need minimal adjustments. Understanding these nuances ensures the system selected fits both the space and your household’s needs.
Choosing the Right HVAC System
Once the assessment is complete, experts recommend a system type tailored to your property. Options typically include central air conditioning, split systems, ductless mini-splits, or high-efficiency heat pumps. Each has its own benefits: central systems are ideal for uniform cooling, while mini-splits offer flexibility and energy efficiency for homes without existing ductwork. During this stage, considerations such as energy efficiency ratings, anticipated utility costs, and long-term maintenance requirements are also discussed. Expert guidance ensures the system aligns with both your immediate comfort needs and long-term investment goals.
Step 2: Preparing the Site for Installation
Clearing the Area
Before any heavy equipment is brought in, preparation of the installation site is essential. This involves clearing the area around the existing unit or where the new system will be placed. Technicians ensure safe access to all required areas, removing furniture, debris, or obstacles that could hinder equipment placement or duct installation.
Addressing Electrical and Structural Requirements
Modern HVAC systems often require dedicated electrical circuits, proper grounding, and sometimes reinforcement of structural supports for outdoor units. Electricians may need to install new breakers or update wiring to comply with local codes. For rooftop or ground-mounted units, contractors verify that the foundation can support the weight and vibration of the equipment. Taking care of these details before installation minimizes delays and ensures the system operates safely and efficiently.
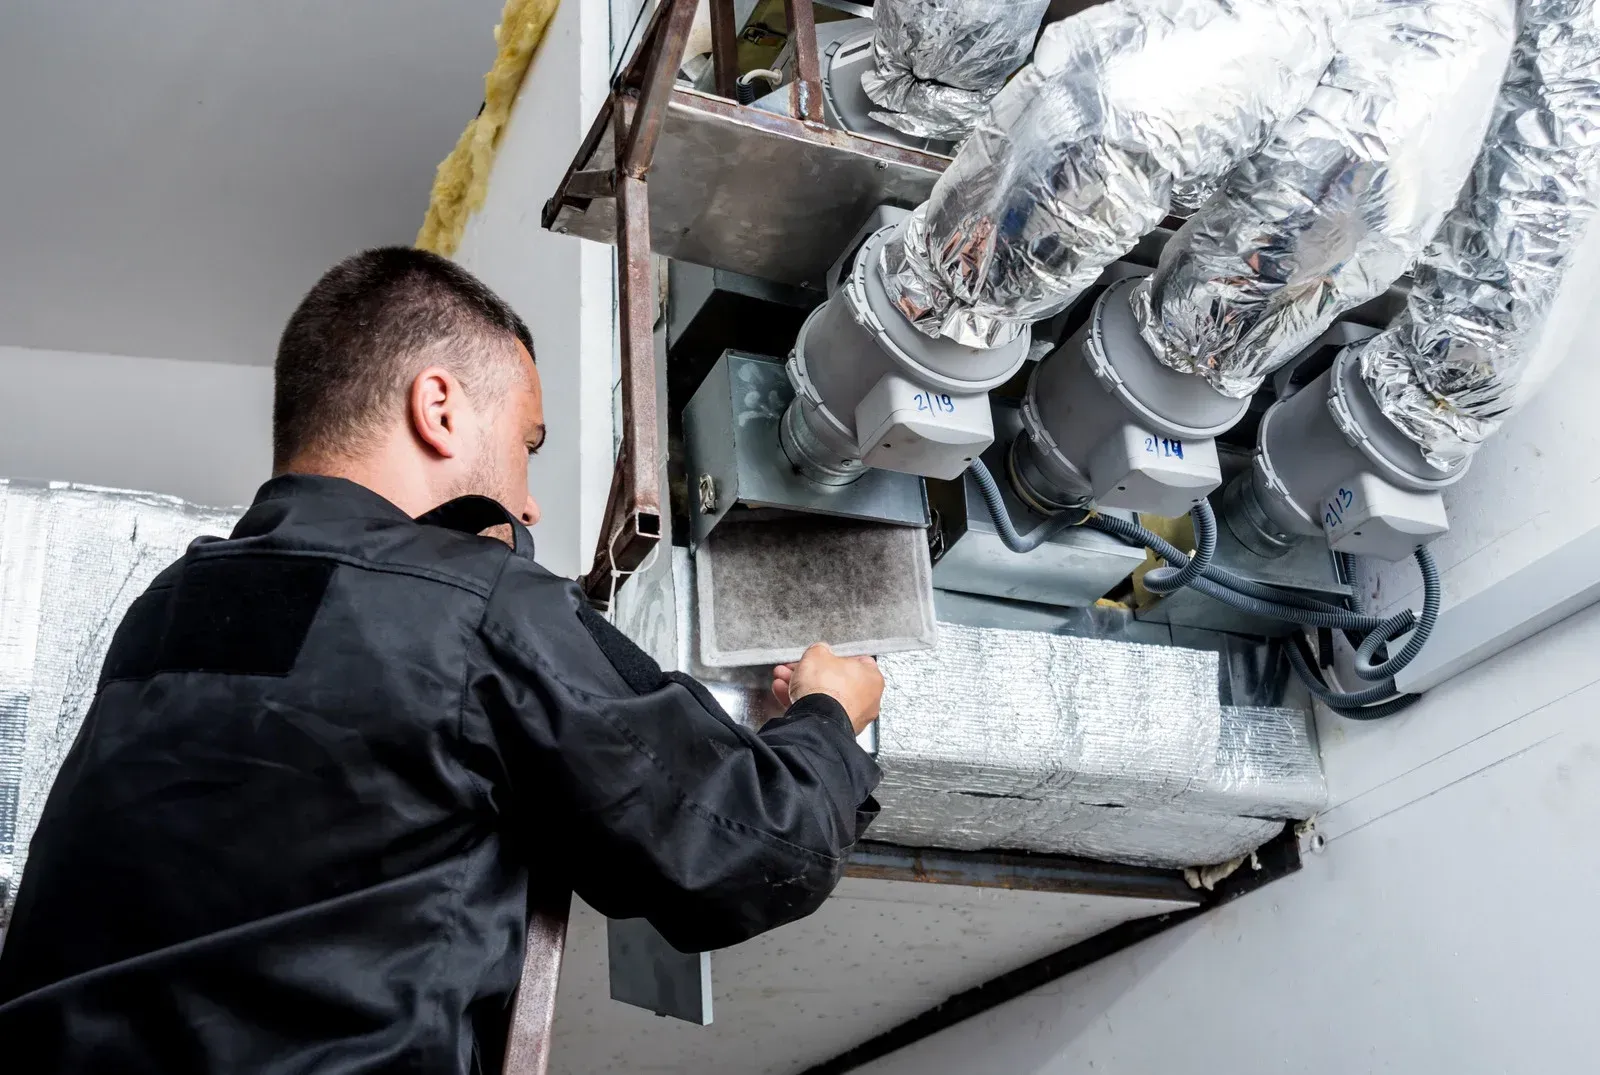
Ductwork and Ventilation Check
Even if your existing ductwork appears functional, professionals will inspect for leaks, damage, or outdated materials. Sealing gaps, cleaning debris, and adjusting duct paths helps maximize airflow and energy efficiency. This step also prevents common issues such as uneven temperature distribution, increased utility bills, or excess strain on the system.
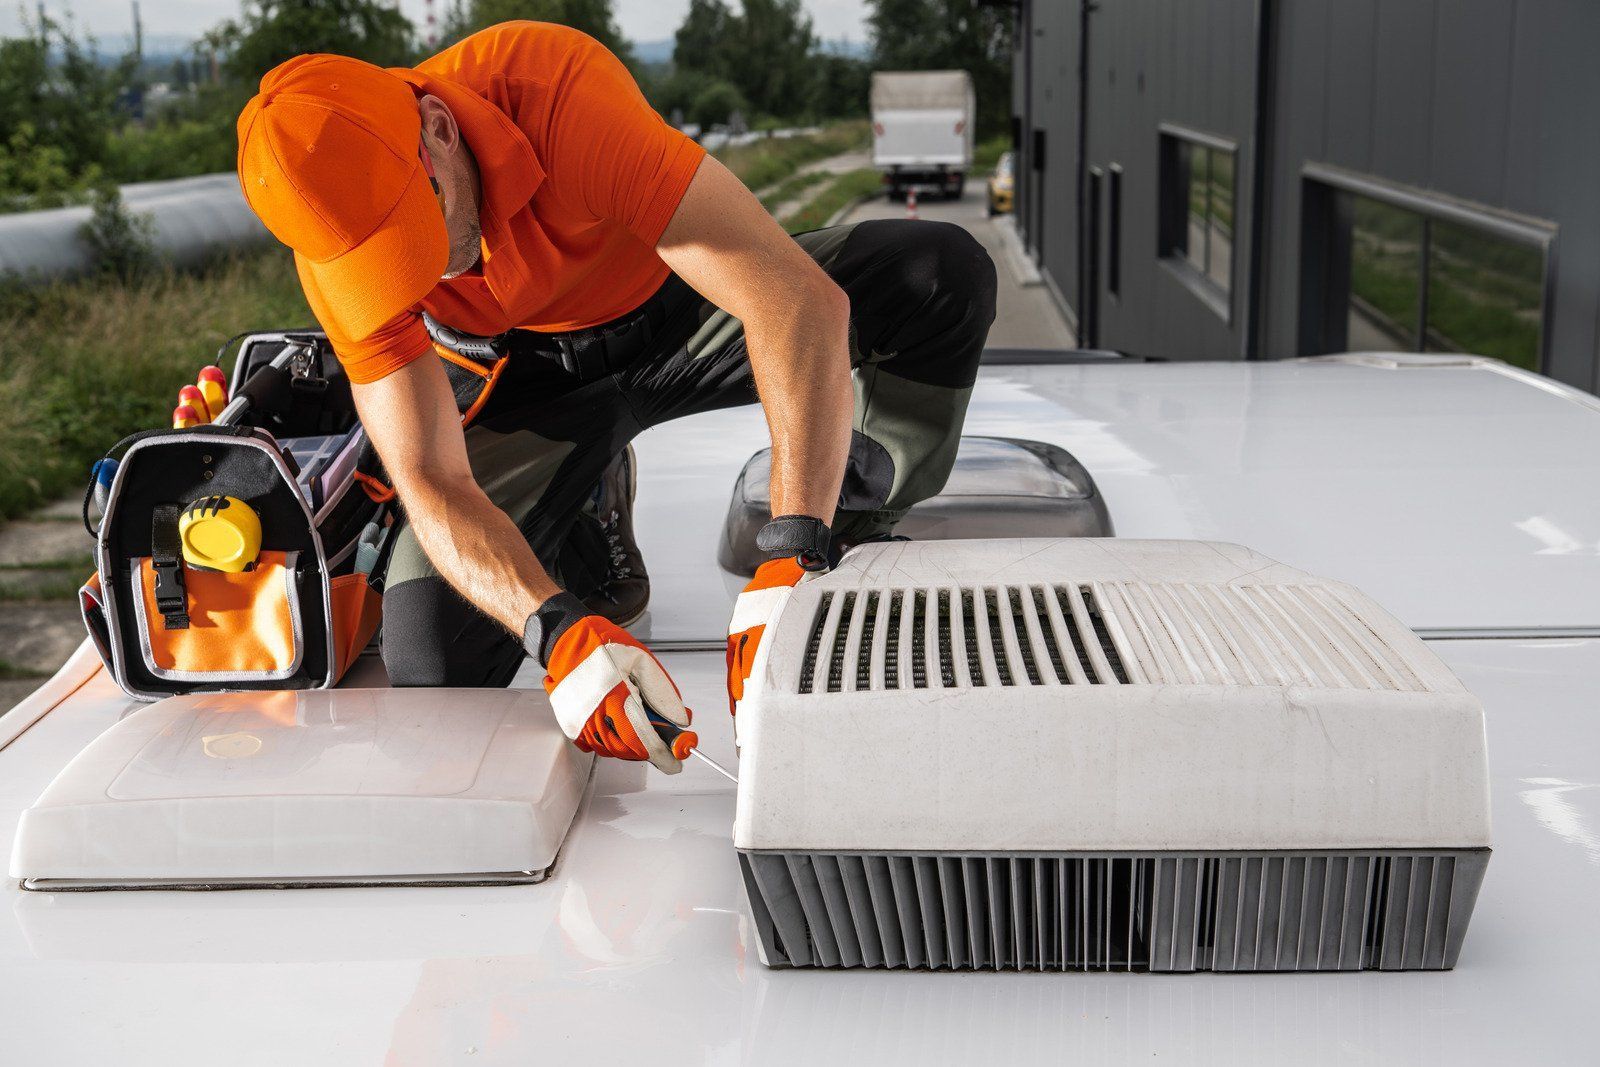
Step 3: Equipment Installation
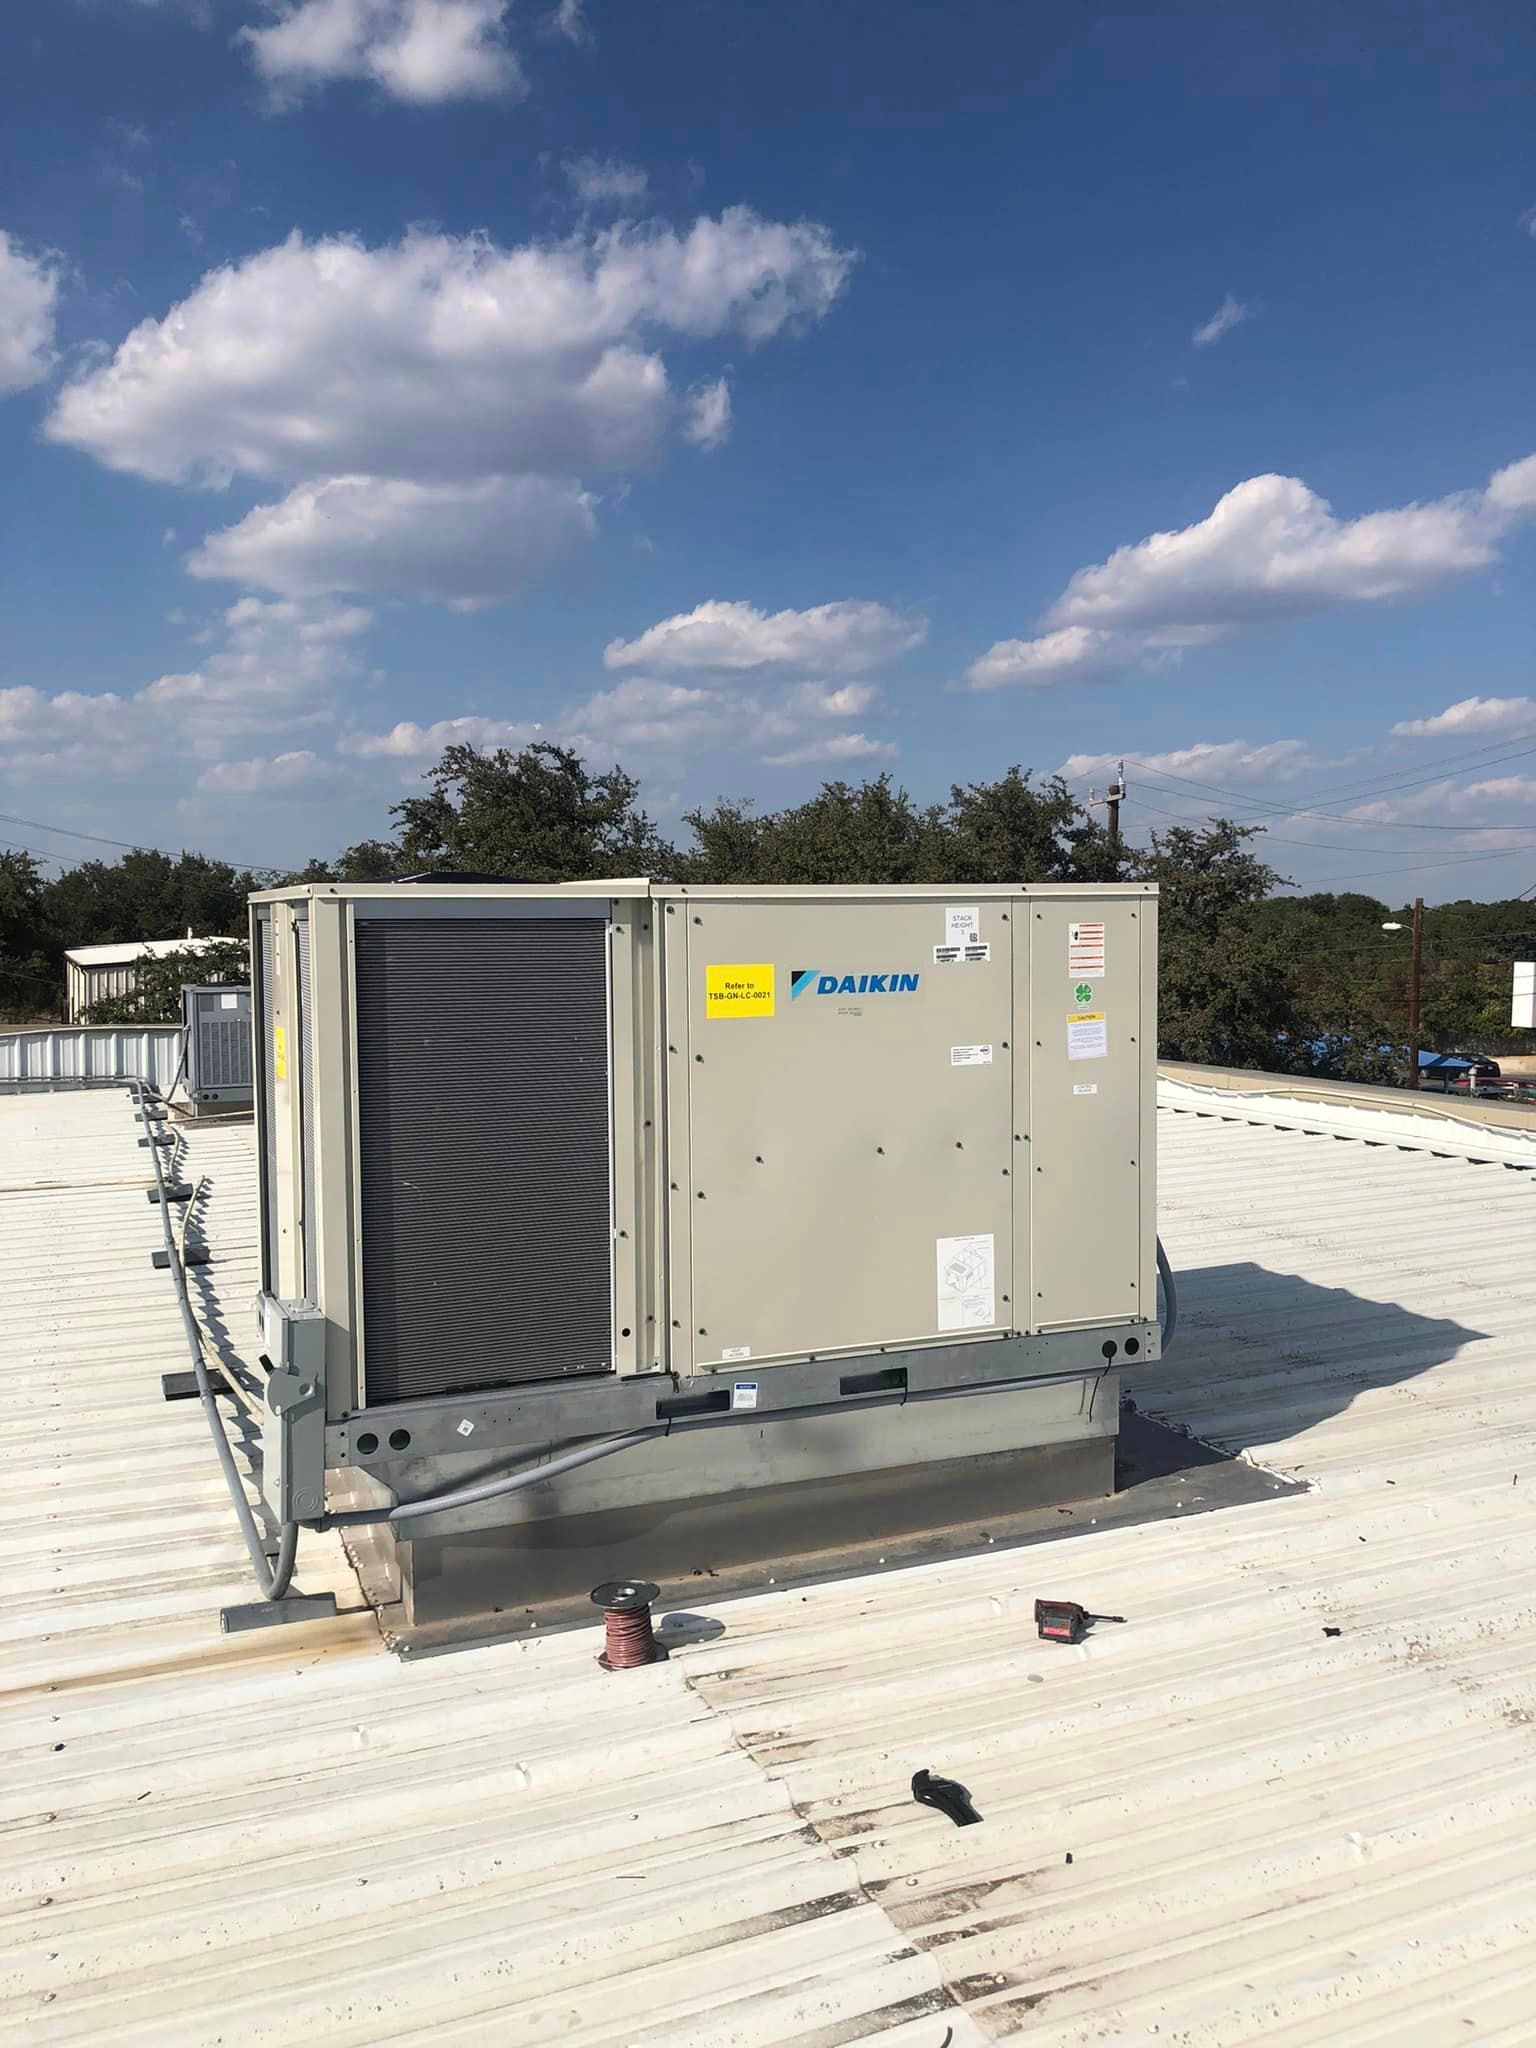
Positioning the Units
The physical installation begins with positioning the indoor and outdoor units. Outdoor units, like air conditioners or heat pumps, require a level surface with sufficient clearance for airflow. Indoor units, including furnaces or air handlers, are installed in areas that allow easy access for maintenance while optimizing air distribution. Technicians use precise measurements and leveling techniques to ensure long-term stability and operational efficiency.
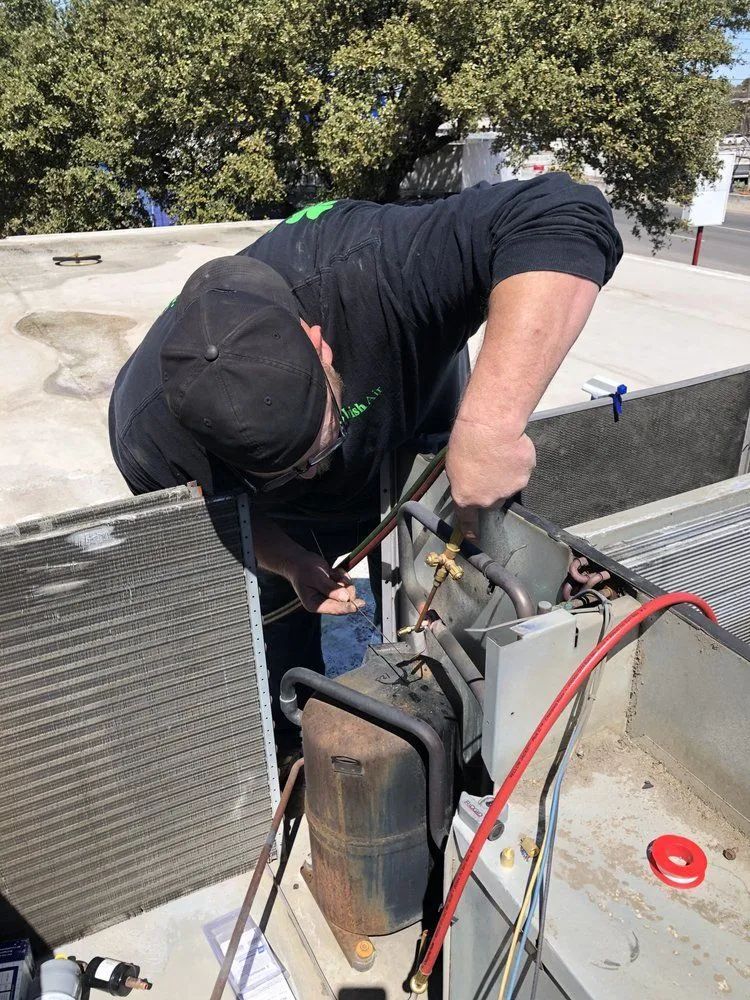
Connecting Components
After positioning, the next step is connecting the components. Refrigerant lines, condensate drains, and electrical wiring are carefully installed to manufacturer specifications. For split systems, this involves evacuating air from the refrigerant lines to prevent moisture contamination, which could compromise performance. Duct connections are tightened and sealed to prevent leaks, ensuring that the system operates at peak efficiency.
Safety Checks During Installation
Safety is paramount during installation. Technicians ensure that gas lines, where applicable, are secure and leak-free. Electrical connections are double-checked to prevent fire hazards. Additionally, pressure tests may be performed on refrigerant lines to verify that there are no leaks that could affect system performance. These safety measures protect both the property and the technicians carrying out the work.
Step 4: System Start-Up and Testing
Initial Power-Up
Once the installation is complete, the system is powered on for the first time. Technicians monitor startup sequences to ensure the units operate smoothly and respond correctly to thermostat commands. Any unusual sounds or vibrations are addressed immediately to prevent future operational issues.
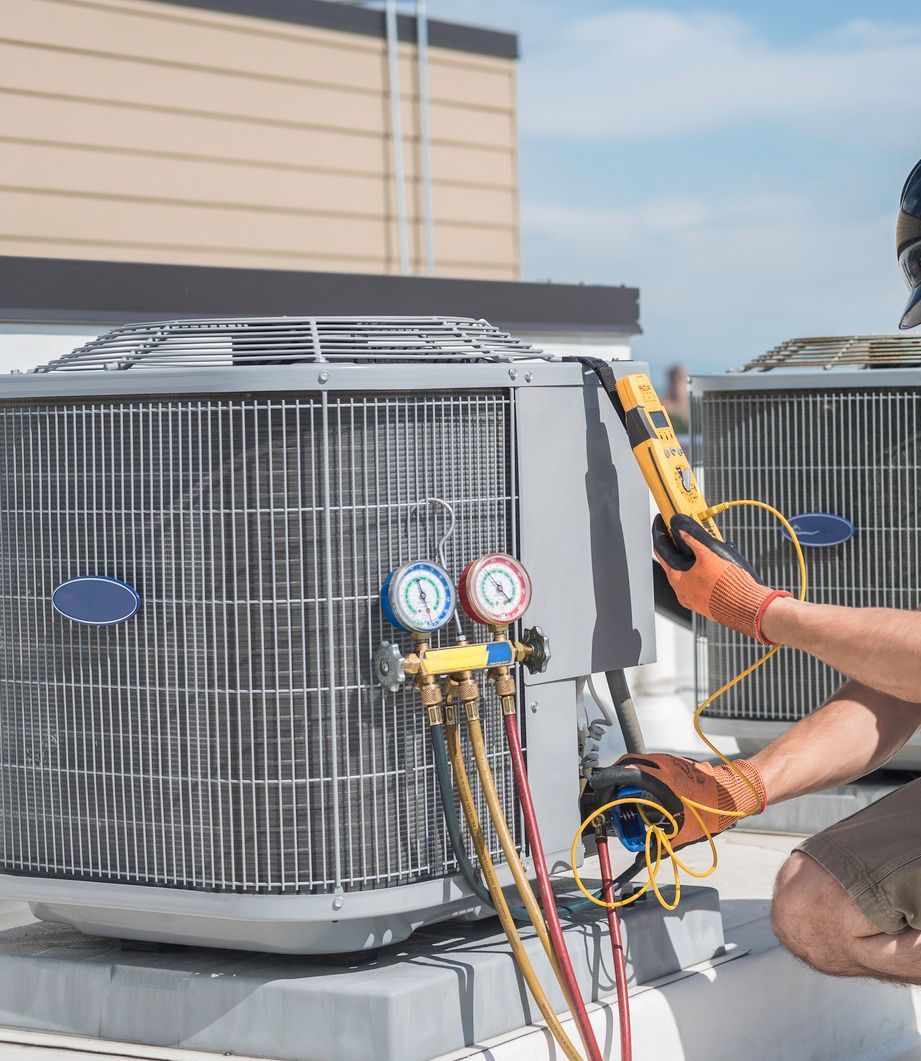
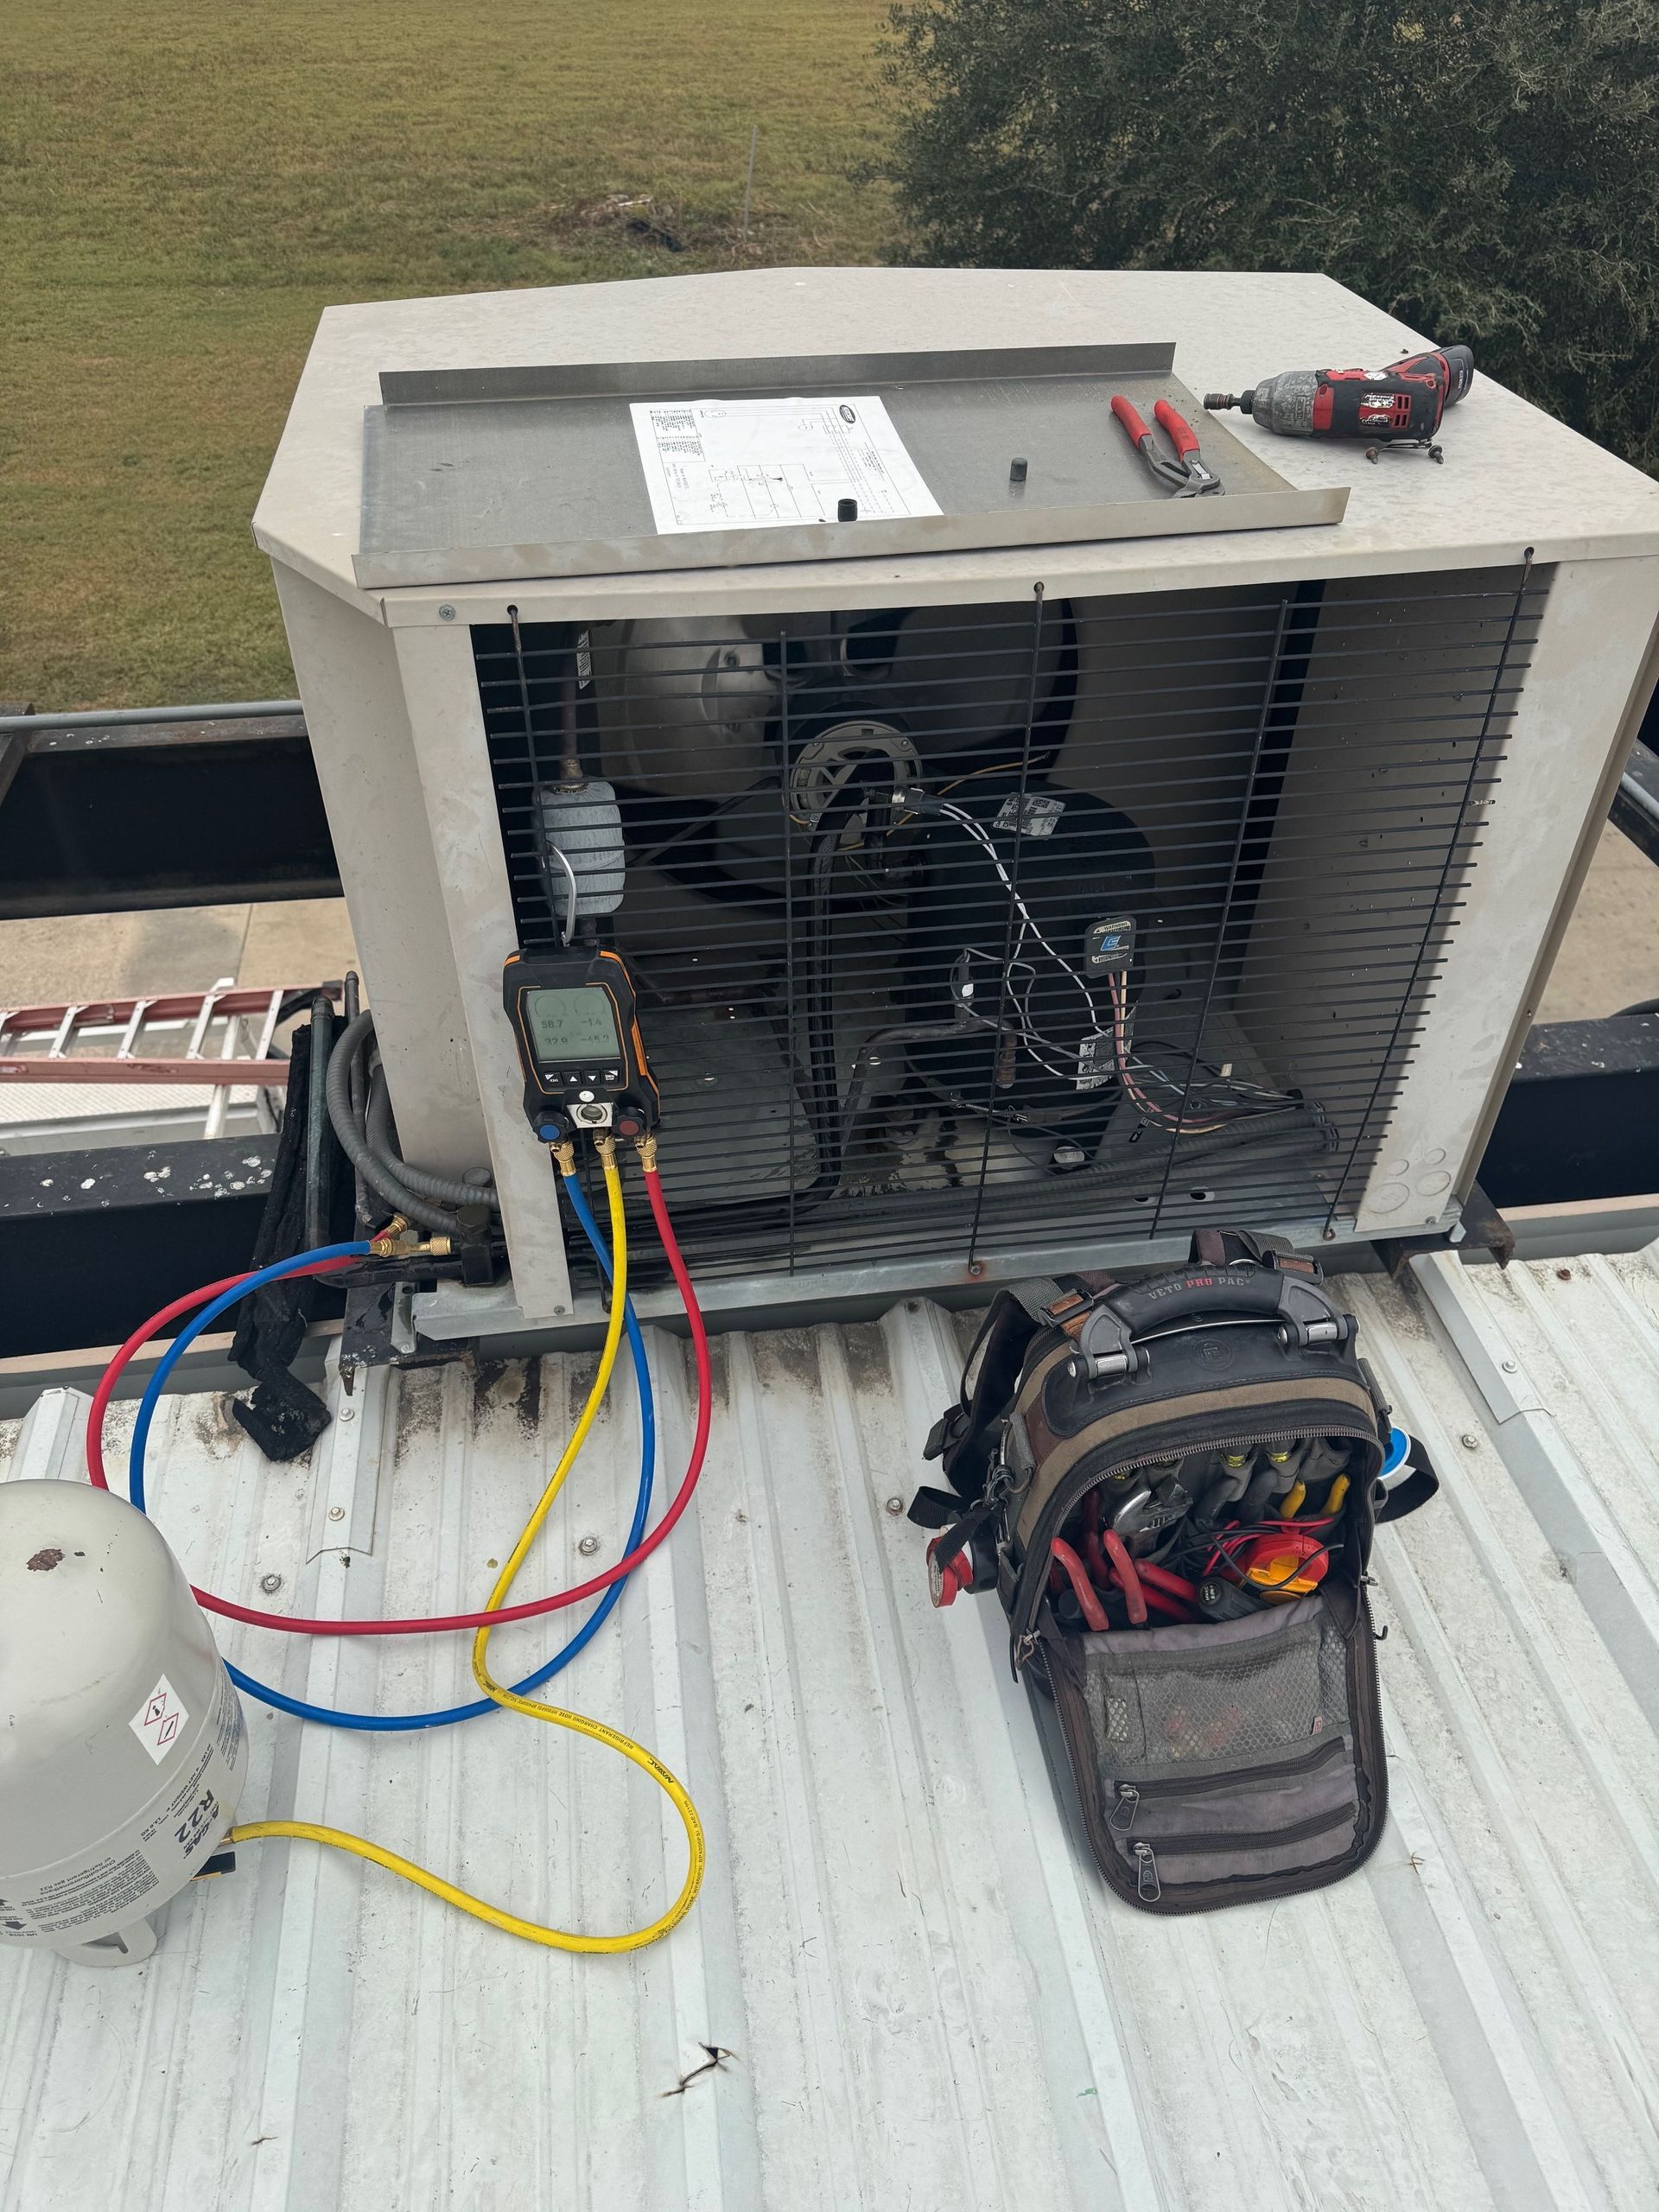
Performance Testing
Performance testing evaluates the system’s ability to heat or cool the property efficiently. This includes checking airflow from vents, measuring temperature differentials, and verifying that refrigerant levels are optimal. For systems with variable-speed components, technicians test multiple operating modes to ensure the system adapts effectively to different conditions.
Safety and Compliance Verification
Compliance with manufacturer specifications and local building codes is verified during testing. Gas systems are checked for proper combustion and venting, while electric systems are evaluated for grounding and circuit protection. This final inspection ensures that the installation meets safety standards and qualifies for manufacturer warranties. It also provides homeowners with confidence that the system will operate reliably for years to come.
Step 5: Homeowner Orientation and Maintenance Guidance
Explaining System Operation
After testing, technicians provide a detailed walkthrough of system operation. This includes demonstrating thermostat settings, explaining different modes, and highlighting energy-saving strategies. Homeowners learn how to adjust airflow, program schedules, and troubleshoot minor issues, reducing dependence on emergency service calls.
Maintenance Recommendations
Proper maintenance is critical to extending the lifespan of any HVAC system. Technicians outline routine tasks such as filter replacement, coil cleaning, and condensate drain inspection. They may also provide seasonal maintenance schedules to ensure optimal performance throughout the year. Regular upkeep prevents efficiency loss, reduces the risk of breakdowns, and helps maintain indoor air quality.
Documentation and Warranty Review
Finally, homeowners receive all relevant documentation, including user manuals, warranty information, and service records. Understanding the terms of the warranty and recommended service intervals ensures that the system remains protected. Keeping this information accessible makes it easier to schedule professional maintenance and address any issues that arise promptly.
Step 6: Troubleshooting and Post-Installation Support
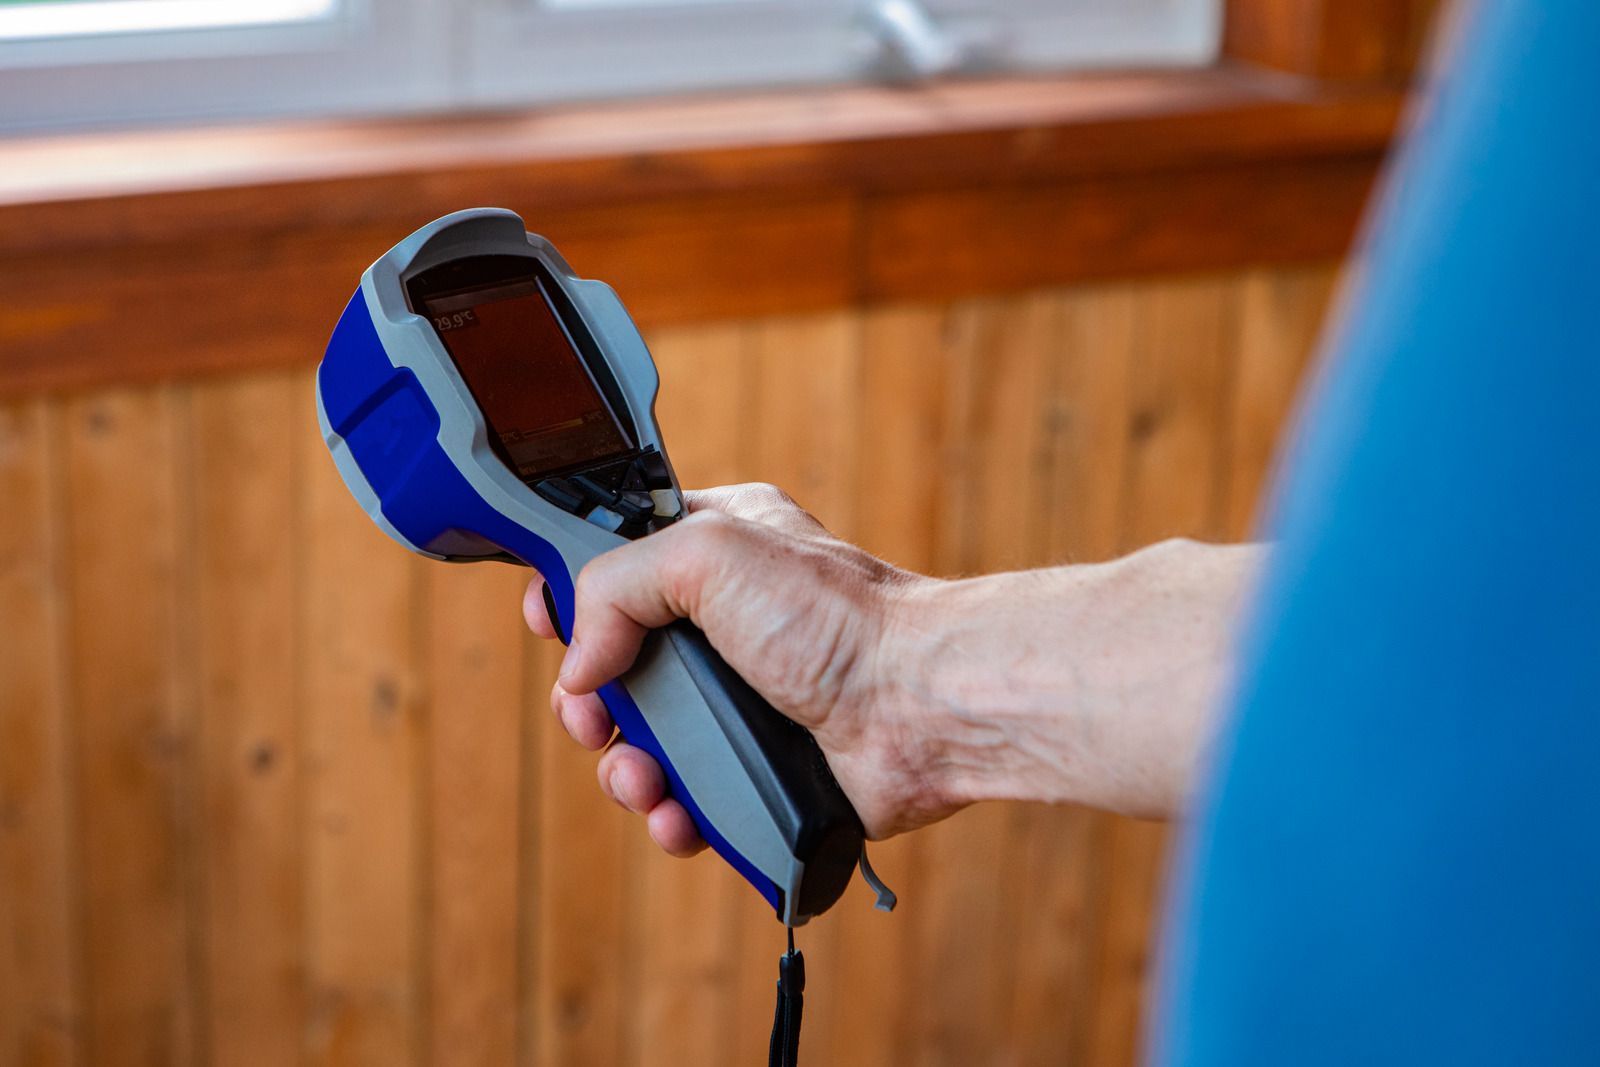
Monitoring System Performance
Even after professional installation, it’s normal for technicians to schedule a follow-up visit or provide guidance on monitoring system performance. They may suggest checking airflow patterns, noting temperature consistency, and observing any unusual noises or odors. Early detection of issues prevents minor problems from escalating into costly repairs.
Access to Professional Support
Reliable HVAC contractors offer ongoing support to address questions or concerns after installation. Whether it’s clarifying operational instructions, scheduling routine maintenance, or troubleshooting minor issues, having expert support ensures peace of mind. Homeowners are reassured knowing they have a professional resource to rely on if adjustments or repairs are needed
Optimizing Efficiency Over Time
Over the first few weeks of operation, slight adjustments may be necessary to optimize efficiency. Technicians can fine-tune settings, adjust refrigerant levels, or make minor duct modifications. These optimizations improve comfort, reduce energy consumption, and enhance overall system longevity.
Expert Guidance for Long-Lasting Comfort and Efficiency
An HVAC installation is a complex process that requires careful planning, technical expertise, and attention to detail. From the initial assessment to system testing, homeowner education, and post-installation support, every step is designed to ensure that the system performs efficiently, safely, and reliably. By understanding what to expect during each stage, homeowners can make informed decisions, anticipate potential challenges, and maximize the value of their investment. Proper installation not only enhances indoor comfort but also protects long-term property value, reduces energy costs, and promotes a healthier living environment.
AtIrish Air
located in Temple, Texas, we bring 13
years of experience to every HVAC installation project. Our team of skilled professionals is dedicated to delivering precise, reliable, and efficient solutions tailored to each property. We prioritize safety, compliance, and customer education, ensuring that every client fully understands their system’s operation and maintenance requirements. When you choose Irish Air, you are partnering with a trusted authority in HVAC services, committed to long-term comfort, energy efficiency, and exceptional service standards.